|
Home Table of Contents News Dev Blogs Gallery Timeline Legend Tags Sponsors |
|
Join us on... |

|

|

|

|
|
Home Table of Contents News Dev Blogs Gallery Timeline Legend Tags Sponsors |
|
Join us on... |
|
|
|
Current: Month Day, Year
Especially when you work with Makehuman 2 very often and use a lot of user assets or assets out of asset-packs filtering will be very helpful. If the assets are made with a later version of Makeclothes, there are some standard tags, which should be used. But since each creator can add own tags and is not urged to use existent ones, filtering of assets can be a problem.
This can be solved by using the Information editor.
When started, information about your assets is placed in a SQLite database which then is used as a repository. The database file can be found in your user folder according to the mesh. Information gathered will populate the table “filecache” in the database.
<userfolder>/data/dbcache/<mesh>/repository.db
The information editor can create a new thumbnail and new tags. While the existing thumbnail will be overwritten, the tags will be saved in the same SQLite database using the table “userinformation”.
Both tables are connected by the same uuid. Rescanning your assets will not destroy the table “userinformation”. Deleting the repository will do that. You can, however, backup the user information to a file and load it worst case.
The information editor will be opened by selecting an assets and pressing the button 
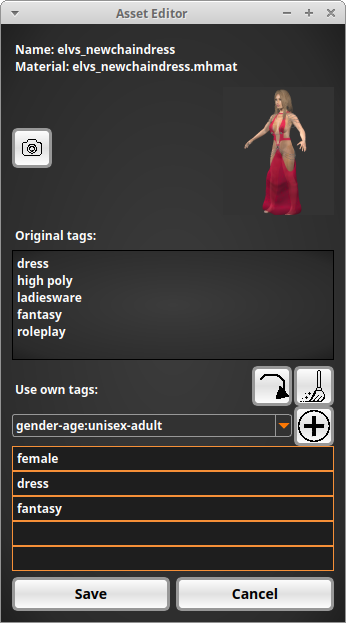
Thumbnail can be changed with a screenshot. Click on  . The new image
will appear in the view. Best to switch off skybox (the globe) and use a one-colored background.
Under “Settings” change light and scene and select a background color with contrast.
. The new image
will appear in the view. Best to switch off skybox (the globe) and use a one-colored background.
Under “Settings” change light and scene and select a background color with contrast.
If you want to use own tags, you can either copy original tags to tag
editor with  and change these tags
or you can create new ones by using the standard tags (recommended for filtering).
and change these tags
or you can create new ones by using the standard tags (recommended for filtering).
A standard tag can be inserted by selecting it from the list and press the  icon. You can also delete a tag row or delete all tags by pressing the
  icon.
icon.
Save the information with save button or cancel the tool.
When you select another asset while editor is open, this selected asset will populate the information editor
As long as tags are provided, assets can be filtered in numerous ways. Assets with no tags are always shown. The filtering panel is displayed on left side:
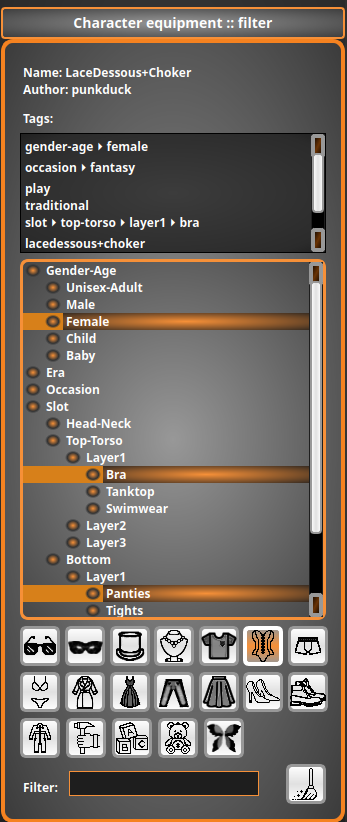
These are the methods used (clothes example):
Hint: If the program shows too many items on right side, it is possible to supply all clothes with extra tags, these tags are then used instead of the tags provided in the clothes files. (see above)
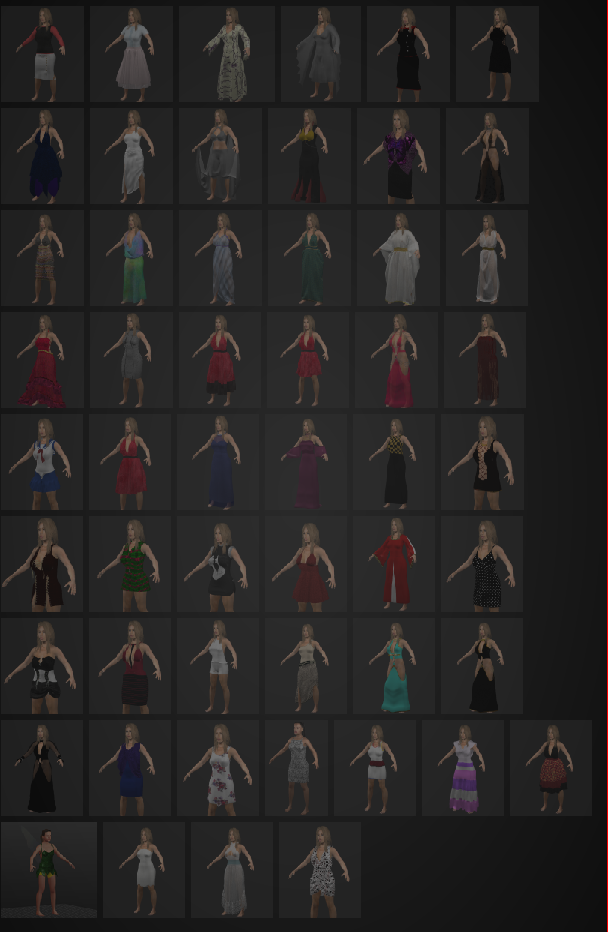
In the end it is individual how one deals with filtering. My current collection looks like this, when I click on “dress”: